
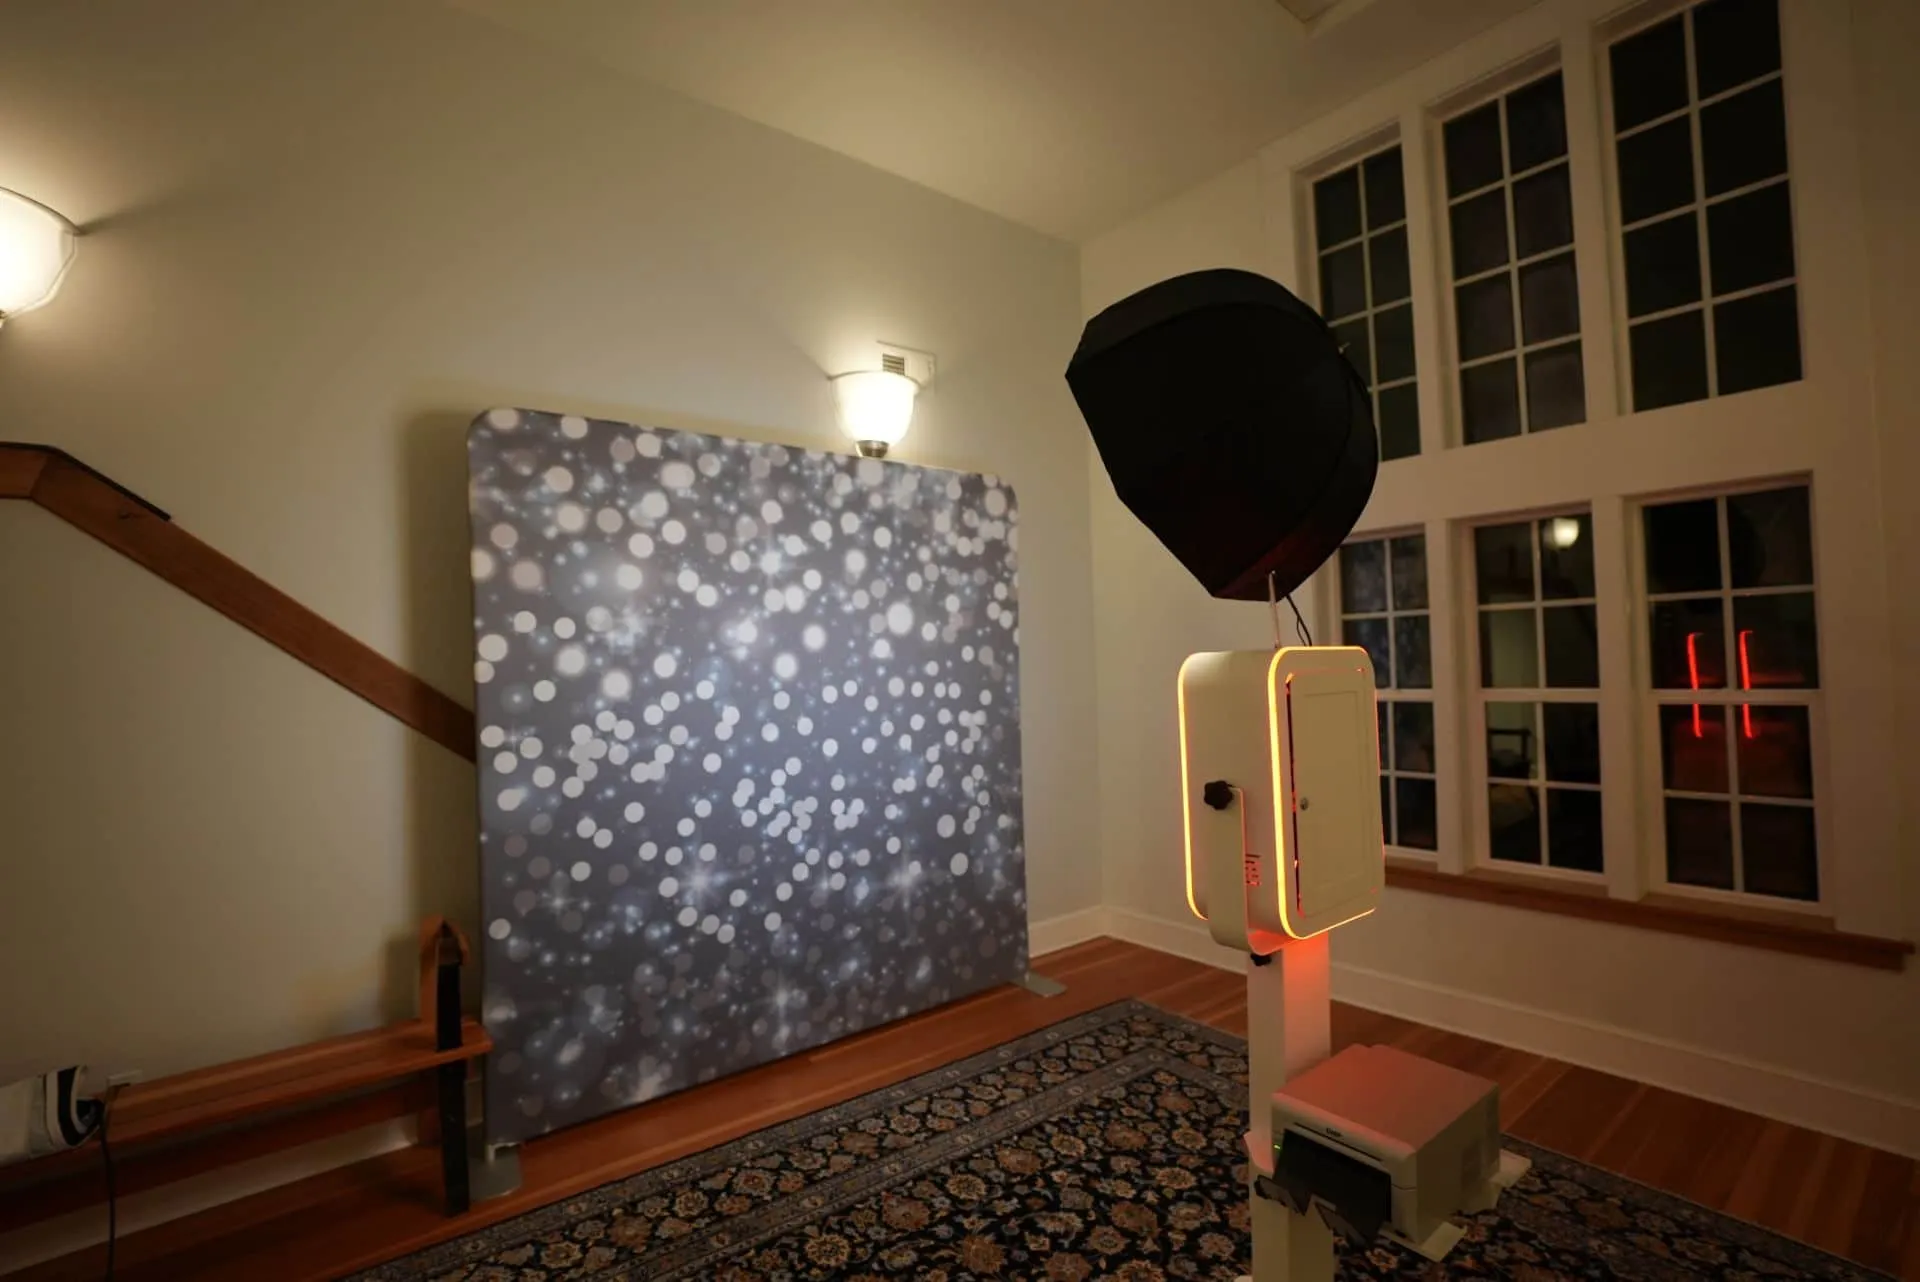
Our T-12 Open Air Photo Booth is one of our most popular add-ons for Oregon weddings. Here at DJ Cutt Entertainment, we use this photo booth to engage guests and create a fun and memorable experience. Let’s take a look at how the photo booth works and what you need to know before deciding to have one at your wedding or other event. While it’s relatively easy to set up our photo booth and backdrop, there are a lot of different moving parts. We’ve also customized a lot of features to make it work even better for wedding receptions.

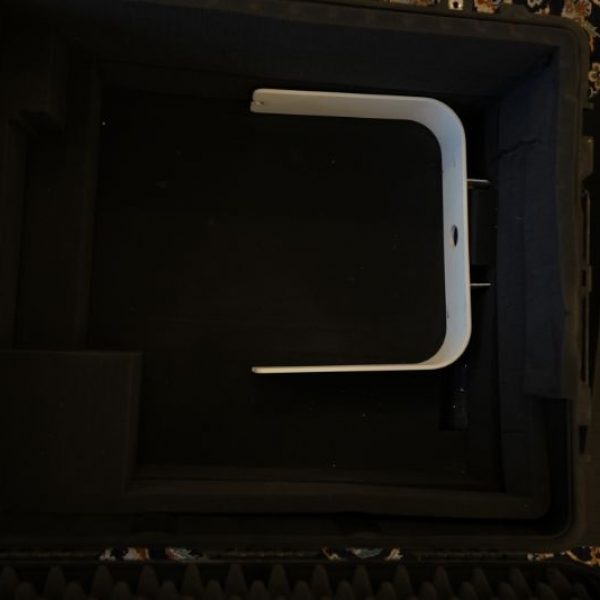
Everything about the T-12 photo booth setup starts with the 1690 Pelican case. You will immediately notice that the whole case fits very tightly. Everything has a specific way that it goes in and comes out. Every space cut out of the foam has components that are meant to fit inside specifically. This style case has pick and pluck foam so you can customize it to fit your needs.
You will immediately notice that the whole case fits very tightly. Everything has a specific way that it goes in and comes out. Every space cut out of the foam has components that are meant to fit inside specifically. This style case has pick and pluck foam so that way you can customize it to fit your needs.

In the case we keep all the knobs and extra cords that are required to assemble the booth. There is a base, two columns, a head bracket, and head that all screw together to complete the photo booth. The photo booth head and the 2 columns fit snug inside the case. Down below is the bracket to hold the T12 photo booth head. This is the last bracket that goes into the case because it is a tight snug fit.
Once you have pulled all the components out of the case you will need to begin assembly. The first step is to attach the base to the bottom column. It’s very important to figure out what direction the photo booth is going to be facing because the bottom hole has cut outs for the cord that run out of the back of the booth, not out of the front.
Once the base and the bottom column are put together, you want to begin putting on the top column. Grab two sets of screws to make sure that these are secured together. The bottom column is attached to the floor plate via three screws. Take note that the screws can be kind of tough sometimes. You need to make sure that the columns line up perfectly before you start screwing in the screws. If the screws become stripped then it can become very difficult to keep them tight.

Pro Tip: If you’re using the printer tray so that the printer can sit on the photo booth, you will need to assemble these before putting in the screws in the bottom and middle column.
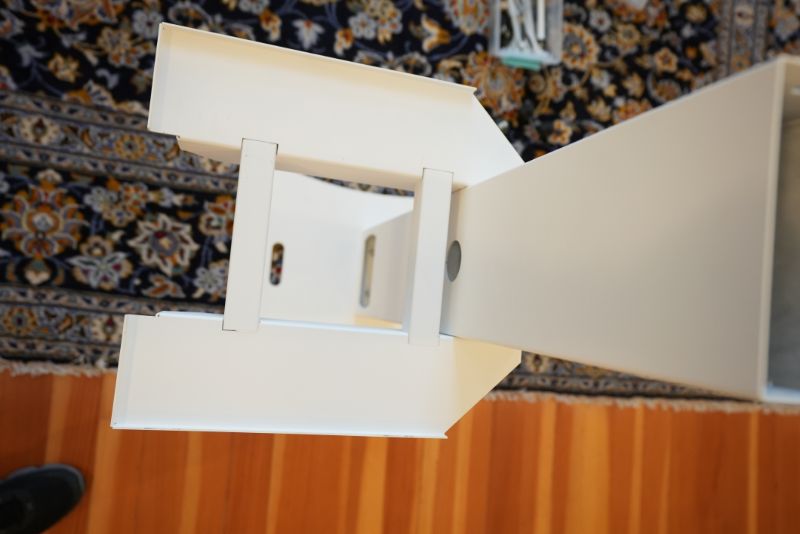

After the bottom and middle column are assembled, next you start to put together the head bracket. This is a U-shaped bracket that screws into the top of the column. Once all the columns and the T12 have been assembled, the next step is opening the back of the shell and hooking up all the camera cords. Our photo booth packages include an attendant who handles all of this setup for you at every wedding and event.
Once all the columns and the T12 have been assembled, the next step is opening the back of the shell and hooking up all the camera cords, turning on the camera, and feeding the cords through the holes into their specific places.
Once the base and the bottom column are put together, you want to begin putting on the top column. Grab two sets of screws to make sure that these are secured together. The bottom column is attached to the floor plate via three screws. Take note that the screws can be kind of tough sometimes. You need to make sure that the columns line up perfectly before you start screwing in the screws. If the screws become stripped then it can become very difficult to keep them tight.
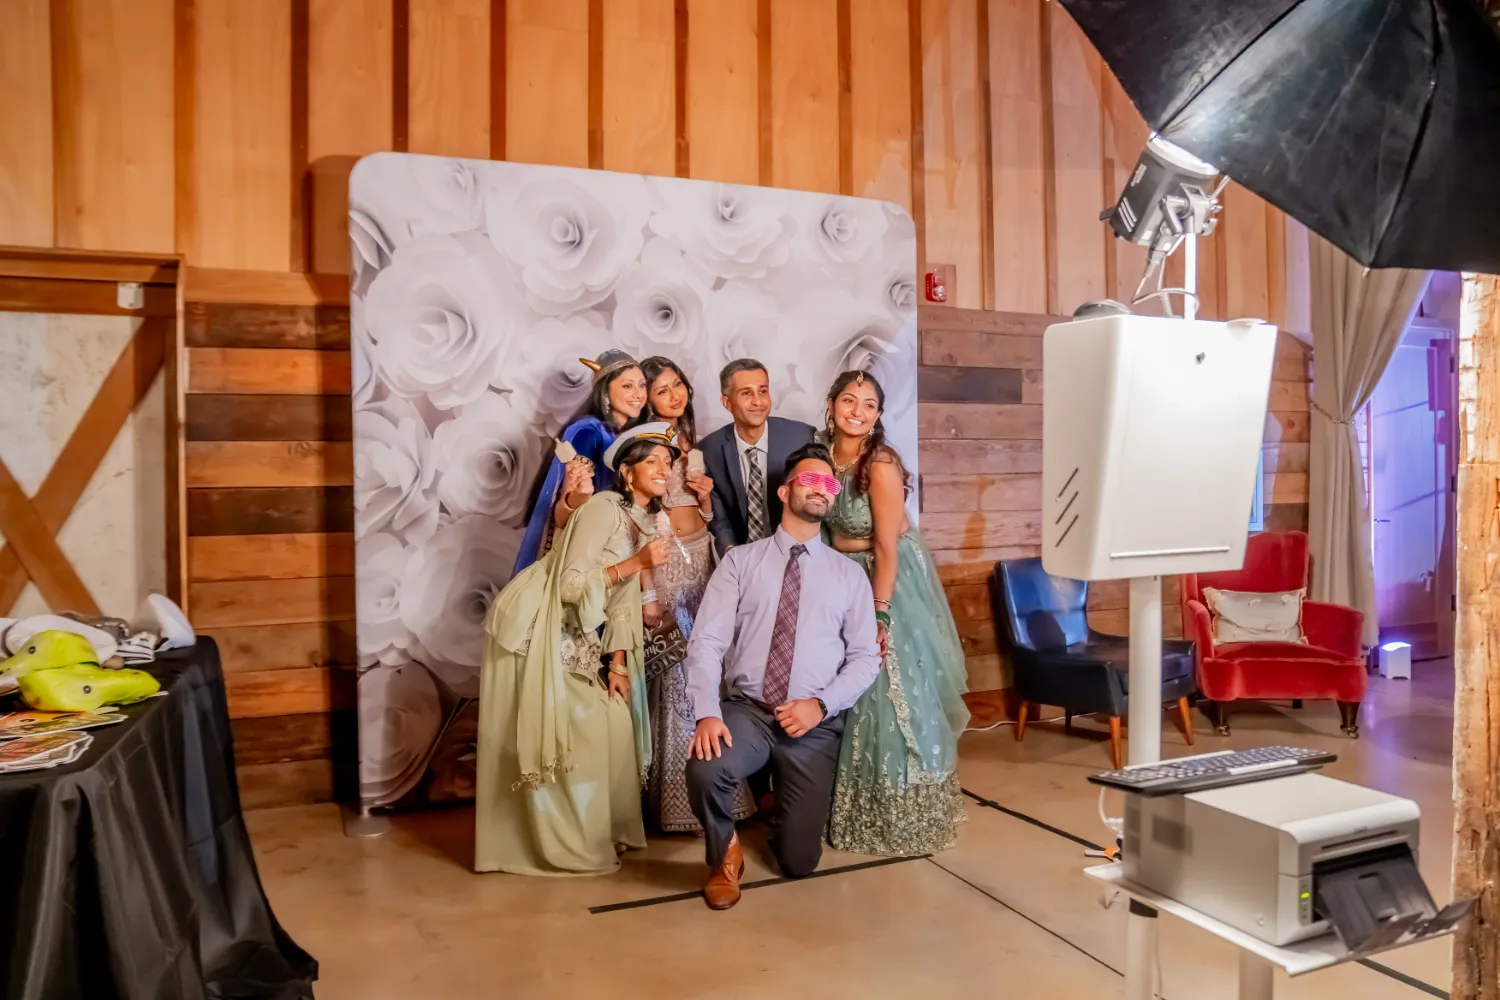
The backdrop style that we use is known as a pillowcase backdrop. The great thing about these backdrops is you don’t have to worry about getting out any wrinkles and it offers a flat, clean look for weddings. The only downside is it’s an 8 x 8 backdrop. It can’t be any taller or any shorter, but for 99% of the events that we do this works out great.
The very first thing you’ll notice is all the poles are numbered from 1 to 27. It might look like many of the poles can go in different places as there are duplicates, but it’s really important and critical the you line everything up so 1 goes into 2, 2 goes into 3, 3 goes into 4, and so on.
Once you have everything together the very last step is to attach the very top piece from left to right in such a way that you do not bend the poles. After all the poles are assembled, this is when you start taking the backdrop and pulling it over the poles like a pillowcase. Once it’s all the way over the poles, there is a zipper at the bottom. It can be very difficult to zip shut so make sure to pull the fabric nice and tight so that way you don’t have any wrinkles.
When it comes to setting up the backdrop, it can be a little bit difficult to get the base plates right. Make sure to have an Allen key set for the base plates, because they can come loose or not be at the right angle and you might need to tighten them up to make sure that the photo booth lays flat and stays upright. The one downfall of the backdrop is you need to be careful at outdoor events in the wind because this backdrop is essentially a kite.
When you are doing your test shots, it is really important to do a custom white balance or set the white balance to the room's appropriate setting. Also, when making prints, make sure all the prints are lined up correctly inside Darkroom Booth. You will have many different people coming through the booth at different heights so do test shots with the booth angled up, straight, and down. We do everything we can at DJ Cutt Entertainment to make sure your photo booth experience runs smoothly. Pair the photo booth with our event lighting for stunning, well-lit prints every time. See our pricing or contact us to add a photo booth to your event package.
Also, when you’re making prints, make sure the all the prints are lined up correctly inside Darkroom Booth. You can adjust the printer settings so it will center the prints. Sometimes if they are off by even a couple of millimeters it can make all the difference in the world.
You’re going to have many different people coming through the booth at different heights so you need to make sure to do some test shots with the booth angled up, angled straight, and angled down to get the best framing for the group and the number of people. Sometimes you’re going to have two people in the booth but then you might have groups of up to 20 people. We usually use an 18 to 55 mm lens so you might have to play around with the zoom to make sure you have the right crop.
Finally, when it comes to your flash, you really want to pay attention to how bright it is. It may look properly exposed against the backdrop but as soon as you have guests that are a lot closer to the camera, this can dramatically change and create hotspots on people’s faces. We try to set it to a happy medium so that way everybody is properly exposed whether they’re close to the backdrop or a little bit closer to the camera.
We do everything we can at DJ Cutt Entertainment to make sure that your photo experience runs smoothly and your wedding is a memorable event for all of your guests.
All in one service
Ready to talk details? Click one of the buttons below. Dates fill quickly, so don't wait to secure premier wedding entertainment!
Click "Book With Us" to check availability for a specific date
Get a customized price quote for your event.
Portland's most experienced wedding entertainment team
DJ Cutt Entertainment has been voted Best Wedding DJ by WeddingWire and The Knot. With over 20 years of experience creating incredible wedding moments, we serve Portland, Hood River, Oregon Coast, and throughout the Pacific Northwest.

I’m Alex Ramey, owner of DJ Cut Entertainment, and for the past 15 years I’ve had the privilege of working in the wedding industry, helping couples create celebrations that feel personal, seamless, and unforgettable. Over the years, I’ve seen firsthand how the right entertainment, thoughtful planning, and experienced guidance can shape the entire wedding day experience. As a writer, my goal is to help clients and future brides make better buying decisions before their wedding day, so they can invest wisely and avoid common mistakes. Through these blogs, I share what I’ve learned from years of real wedding experience to give couples honest insight, practical advice, and the confidence to create a wedding that feels authentic, fun, and meaningful.
.webp)
.webp)
.webp)
.webp)
%20(1).webp)
.webp)
.webp)